
Wind mitigation credits can reduce the windstorm portion of your homeowners insurance premium—but only if your home’s features are verified and documented the way insurers expect. In Florida, that verification is done on the state’s Uniform Mitigation Verification Inspection Form (OIR-B1-1802).
Here’s the truth: most “lost discounts” don’t happen because the house doesn’t qualify. They happen because the documentation is weak, the photos don’t prove what the form claims, or the insurer re-verifies and downgrades the form.
This guide breaks down what inspectors check, what paperwork actually works, and how to build a clean evidence package that protects your wind mitigation credits.
1) The form that controls your credits (and how long it lasts)
Florida’s OIR-B1-1802 form is the standardized way insurers apply wind mitigation credits. The form states it’s valid up to five (5) years as long as there are no material changes and no inaccuracies found.
Florida’s wind mitigation resources page also notes a new OIR-B1-1802 effective April 1, 2026—so insurers and inspectors may tighten documentation expectations as the updated form rolls out.
Action: Even if your inspection is recent, keep your documents organized—re-verification can happen.
2) Who is allowed to complete it (don’t get your form rejected)
Florida guidance explains you need a qualified inspector and that the mitigation features must be documented with accompanying photographs. Qualified inspectors include certain licensed contractors, engineers, architects, or certified building code inspectors.
Action: Verify the inspector’s active Florida license before paying. If the license can’t be verified, insurers may reject the report.
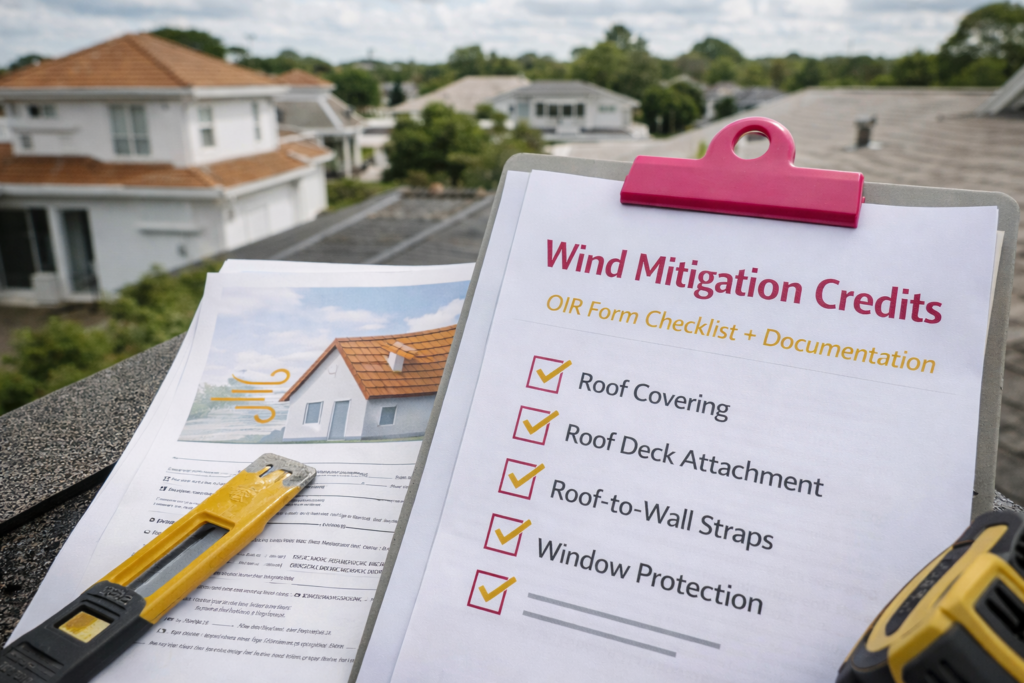
3) The 7 credit sections on the OIR form (this is what inspectors are proving)
The OIR-B1-1802 form focuses on these main categories (the “money” sections):
- Roof covering
- Roof deck attachment
- Roof-to-wall attachment
- Roof geometry
- Secondary water resistance (SWR)
- Opening protection
- (Plus code/permit/building code compliance fields depending on the scenario)
The state also emphasizes: the inspector must itemize features on the form and document them with photographs.
The 9 things inspectors check—and how to document each one
1) Roof covering (what it is + when it was installed)
Inspectors document the roof covering type and whether it meets code-related thresholds for credit.
Best documentation:
- Roofing permit + final inspection
- Contractor invoice showing install date + materials
- Product approvals/manufacturer specs when relevant
Citizens provides a documentation guideline chart showing common reasons credits get removed and examples of acceptable documentation.
2) Roof deck attachment (nails/screws/spacing—attic proof)
This is one of the biggest drivers of wind mitigation credits, and one of the most commonly downgraded categories when photos don’t clearly prove the nail type/spacing. The OIR form includes specific attachment descriptions and equivalency language.
Best documentation:
- Clear attic photos showing fastener type + spacing (close-up + context)
- If re-nailed: contractor affidavit + photos during work + permit records
3) Roof-to-wall attachment (toe nails vs clips vs straps)
Florida guidance (DFS) explains roof-to-wall connections like clips, single wraps/straps, and double straps, and that these can qualify for discounts.
The OIR form asks for the weakest connection type present.
Best documentation:
- Attic photos of each connection type
- Photos showing the number of fasteners where visible
- If retrofitted: engineering letter/affidavit + permit trail
4) Roof geometry (hip vs other)
Roof shape matters. Florida guidance states a HIP roof qualifies for a wind mitigation discount.
The OIR form has roof geometry categories.
Best documentation:
- Clear exterior photos of all elevations
- If needed: aerial imagery printout + roof sketch (supporting, not replacing photos)
5) Secondary Water Resistance (SWR) / sealed roof deck
The OIR form is explicit: standard underlayments do not qualify as SWR.
This is another common “lost credit” area when homeowners assume underlayment = SWR.
Best documentation:
- Roofing contract specifying self-adhered sealed deck/SWR system
- Jobsite photos during installation (before shingles)
- Permit + final inspection paperwork
6) Opening protection (windows, doors, garage door, skylights)
The OIR form evaluates opening protection by the weakest protection level on the structure.
If even one opening is unprotected or undocumented, it can drag the whole category down.
Best documentation:
- Product approval sheets for shutters/impact windows
- Permit records for window/door replacements
- Photos of labeling/etching that shows impact rating where applicable
- Garage door rating documentation (and photo of label if present)
7) Proof package quality (photos that actually prove the checkbox)
Florida DFS guidance: inspectors must document features listed on the form with accompanying photographs.
Photo rules that win underwriting reviews:
- Wide shot (where am I?) + close shot (what am I proving?)
- Good lighting, no blur, include measuring reference when relevant
- Label photos in a PDF (Roof Deck Attachment / Roof-to-Wall / etc.)
8) Don’t ignore insurer re-verification risk
Insurers can review and challenge forms—especially when the form claims strong features but the documentation is thin. Citizens notes it may verify wind mitigation forms through an independent inspection.
Action: Your best defense is a “clean file” (permit + photos + invoices + approvals).
9) Timing strategy: when to do the inspection (to lock wind mitigation credits)
Do the inspection:
- After a reroof (when deck attachment/SWR can be documented)
- After opening protection upgrades (impact windows/shutters)
- After roof-to-wall retrofits (with permits/letters)
Remember: the form is valid up to 5 years unless material changes or inaccuracies are found.
What homeowners should gather before the inspector arrives (simple checklist)
Bring these if you have them:
- Roof permit + final inspection paperwork
- Roofing contract/invoice (install date + materials)
- Any photos from reroof showing underlayment/SWR and deck attachment
- Window/door/shutter permits and product approvals
- Garage door documentation/label photos
- Any engineering letters for retrofits
If you don’t have them, a good inspector can still document visible features—but your wind mitigation credits are more likely to “stick” with solid paperwork.
For a consumer-friendly overview of hurricane mitigation discounts and the role of the OIR form/photos, Florida CFO’s guide is worth reading.
Investor note (rentals/flips)
If you’re improving a property to stabilize insurance costs and improve resale, wind mitigation documentation is part of the “asset package” buyers and insurers care about. For investor planning and upgrade sequencing, visit:
https://jreyesinvestments.com
When you need GC coordination for retrofits
If the inspection reveals you’re missing key features (deck re-nailing, straps, opening protection), you’ll want coordinated scope + permitting and licensed trade execution. For GC-level coordination:
https://toltcgc.com
If you’re trying to maximize wind mitigation credits, the goal is simple: verify the feature AND prove it on paper. Schedule a wind mitigation inspection, and we’ll help you build a documentation package that underwriters can’t easily downgrade.
Create a clean, premium featured image for a Florida insurance blog. Layout: checklist + small house icon with wind lines. Big headline: “Wind Mitigation Credits”. Subheadline: “OIR Form Checklist + Documentation”. Style: modern minimal, white background, teal accents, dark blue-gray text, high readability, lots of spacing, no clutter.